"

Configure Your AutoCAD Software

Learning Outcomes

When you have completed this module, you will be able to:

  1. Configure your AutoCAD software for the course.

Configuring Your AutoCAD Software

Step 1

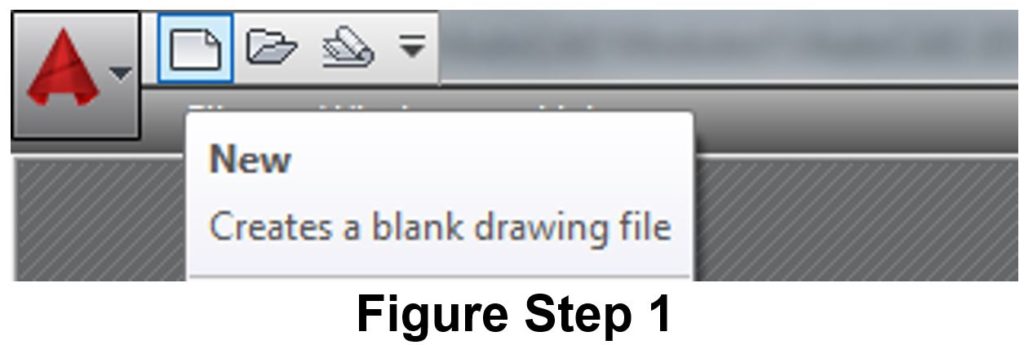
Start AutoCAD by clicking the desktop icon. In AutoCAD’s Graphic window, click the New icon located in the upper left corner. It will open the Select Template dialogue box (Figure Step 1).

A toolbar in AutoCAD showing the red ‘A’ application menu. The cursor is hovering over the New File icon, and a tooltip is open that reads ‘New — Creates a blank drawing file.
Figure Step 1

Step 2

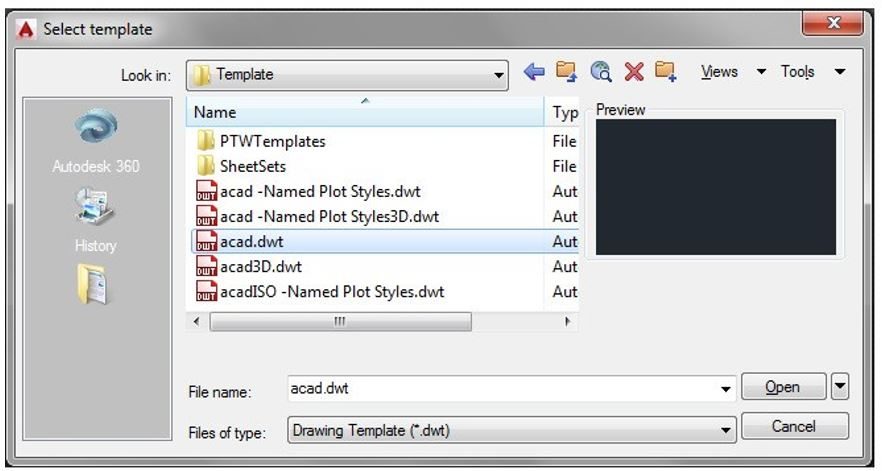
In the Select Template dialogue box, click the template file: acad.dwt (or just acad on some computers) to highlight it. Then click the Open button. This will display AutoCAD’s Graphic window. (Figure Step 2)

AUTHOR’S COMMENTS: Your dialogue box may not match the figure exactly.
AutoCAD ‘Select template’ dialog box showing a file browser. The folder ‘Template’ is open, and the file ‘acad.dwt’ is highlighted.
Figure Step 2

Step 3

Disable all features on the Status bar by clicking any that display with a blue background as shown in Figure Step 3A. All features should display with a gray background as shown in Figure Step 3B. (Figure Step 3A and 3B)


Status bar with several tool icons displayed on a blue background, indicating active features.
Figure Step 3A
Status bar with the same tool icons displayed on a gray background, indicating all features are disabled.
Figure Step 3B

Step 4

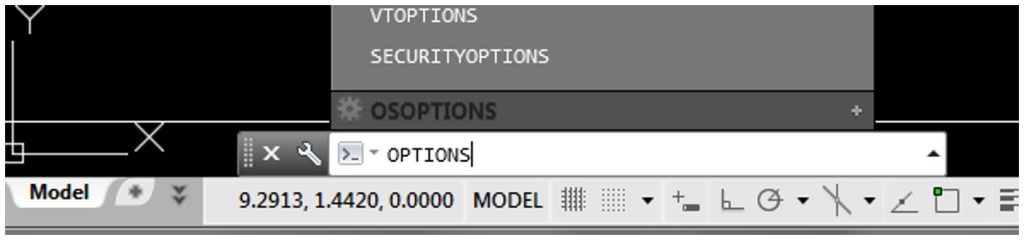
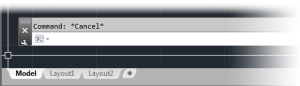
In the Command Line window, located on the bottom of the Graphic window, enter the OPTIONS command by typing it on your keyboard. This will open the Options dialogue box. (Figure Step 4)

Screenshot of the AutoCAD command line with the word ‘OPTIONS’ typed in. The status bar and various tool icons are visible along the bottom of the window.
Figure Step 4

Step 5

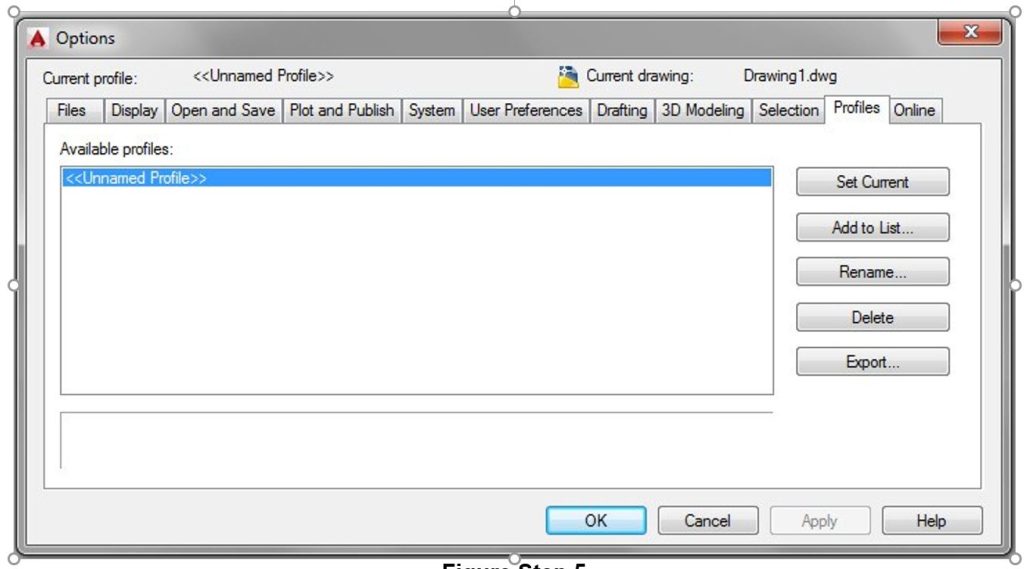
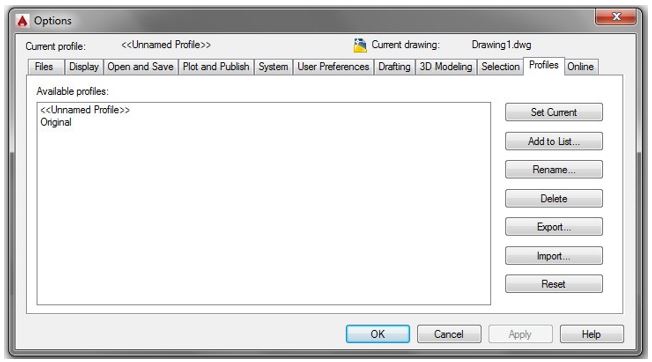
In the Options dialogue box, enable the Profiles tab. (Figure Step 5)

Screenshot of the AutoCAD Options window. The Profiles tab is selected, showing a list with one profile labeled ‘<<Unnamed Profile>>.’ Buttons on the right include Set Current, Add to List, Rename, Delete, and Export. At the bottom are OK, Cancel, Apply, and Help buttons.
Figure Step 5

Step 6

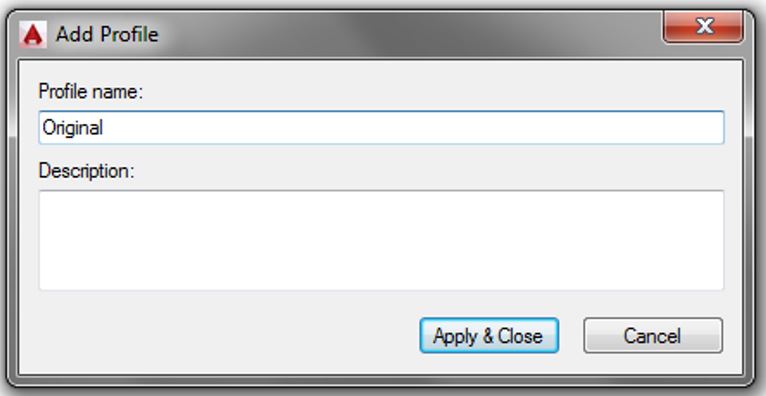
Click the Add to List button. This will open the Add Profile dialogue box. Enter the name: Original for the Profile name. (Figure Step 6A and 6B)

A toolbar strip showing multiple AutoCAD status bar icons with several buttons highlighted in blue, indicating that those features are currently enabled.
Figure Step 6A
AutoCAD Options window showing the Profiles tab. The list displays two profiles, ‘<<Unnamed Profile>>’ and ‘Original,’ with buttons on the right for Set Current, Add to List, Rename, Delete, Export, Import, and Reset.
Figure Step 6B
AUTHOR’S COMMENTS: I am having you create a profile named Original so that you can go back to the way your AutoCAD was configured when you started this book. You will not be using this profile during the course, but at anytime (or when you complete the book) you can use this original profile to restore the original configuration.

Step 7 Configure the Ribbon and Menu

Type CUILOAD at the command prompt.

AutoCAD command line showing the message ‘Command: Cancel’ above an empty input field, with the Model, Layout1, and Layout2 tabs visible below.

This dialog box should appear:

image.png

If ACAD is not listed select “browse” then ACAD. Click Load and the ribbon should appear.

If the top menu (pull down) isnt listed: Type MENUBAR at the command prompt.

A blurred screenshot of the AutoCAD command line showing the text ‘Command: Cancel’ above an empty input field, with the Model, Layout1, and Layout2 tabs visible at the bottom.

If the value is listed as <0> type 1 and ENTER. The menu should appear.

License

Icon for the Creative Commons Attribution 4.0 International License

Introduction to Drafting and AutoCAD 2D Copyright © 2021 by Wally Baumback is licensed under a Creative Commons Attribution 4.0 International License, except where otherwise noted.